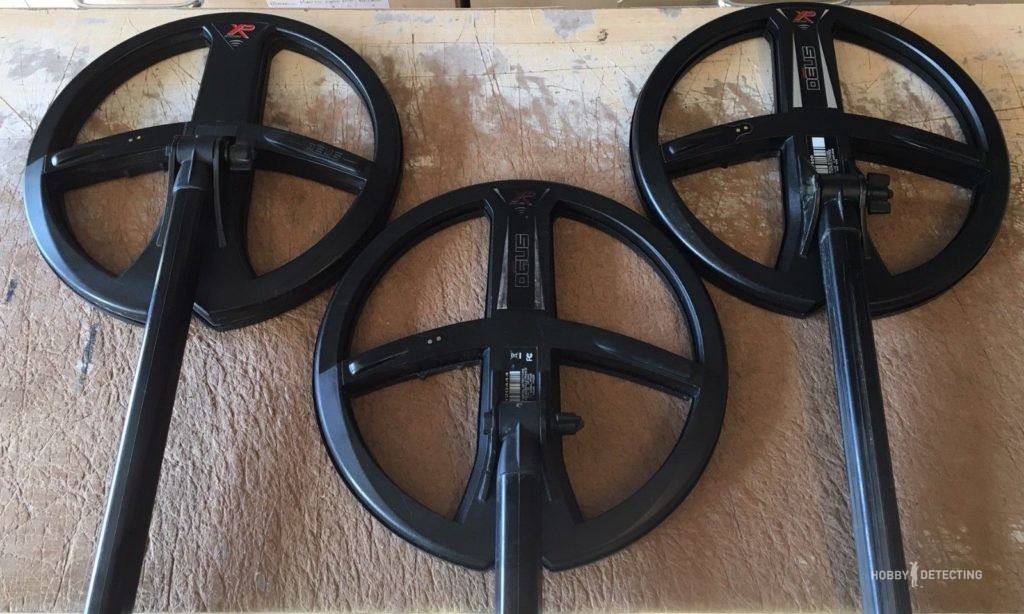
How to connect an XP Deus coil to WS4 and WS5 headphones (Tips for diggers)
Perhaps, this question is asked by every digger who has just purchased his first XP Deus metal detector. An excellent device, but sometimes some situations arise when you need to connect a new coil to the headphones, but how to do this? In fact, it is very simple, fast and there are no problems at all.

Let’s go in order:
- First you need to turn on the headphones by pressing the ON button (the button on the left).
- Then by pressing the MENU button you need to reach the item in the COILS (coil) headphone menu.
- Press and hold the right button on the headphone control panel.
- You should hear a sound and the numbers on the headphone panel should flash.
- These flashing numbers are just a parameter for entering the serial number of the coil into the headphones. By pressing the left and right buttons you can change the meaning of numbers and letters. Enter the serial number.
- To change to another serial number character, press the MENU button.
- The serial number is entered using two numbers/letters. Pressing the MENU button will move you to the next «line» until you reach the end of the serial number entry.
- Once you have completely entered the serial number, press the MENU button again. You will find yourself again at the choice of coil (01 or 02, as you selected).
- Wait for connection — it is not that fast, it can take 20-30 seconds.
- As soon as we heard the coil’s reaction to the metal — this means the connection was successful!
And a useful video in case you don’t understand or need a visual example:
It’s simple, isn’t it? Works for both WS4 and WS5 headphones.
No problem with coping and mastering Deus!
